Additions
.jpeg?timestamp=1704046673730)
 Beauties'
.gif?timestamp=1592160357362) Cuttings : Buy
Cuttings : Buy
.jpg?timestamp=1676915688680)
.jpg?timestamp=1690700412302)

.jpg?timestamp=1742136590088)
.jpg?timestamp=1676916088006)
.jpg?timestamp=1742116372289)
.jpg?timestamp=1742116474228)
.jpg?timestamp=1742118145848)
.jpg?timestamp=1742135974170)

.jpeg?timestamp=1690701623905)
.jpg?timestamp=1742118552408)

.jpg?timestamp=1742136722377)

Fruit Seeds 
.jpeg?timestamp=1719670682627)
.jpeg?timestamp=1719671579924)
.jpeg?timestamp=1719671653634)
.jpeg?timestamp=1704037681309)
.jpg?timestamp=1704038838449)
.jpeg?timestamp=1719672026547)
.jpeg?timestamp=1719672139806)

more Seeds Available
.jpeg?timestamp=1704037717101)

.jpeg?timestamp=1704037879986)
.jpeg?timestamp=1719672322140)
 on
on
Facebook Messenger 
Pay on Paytm , Upi
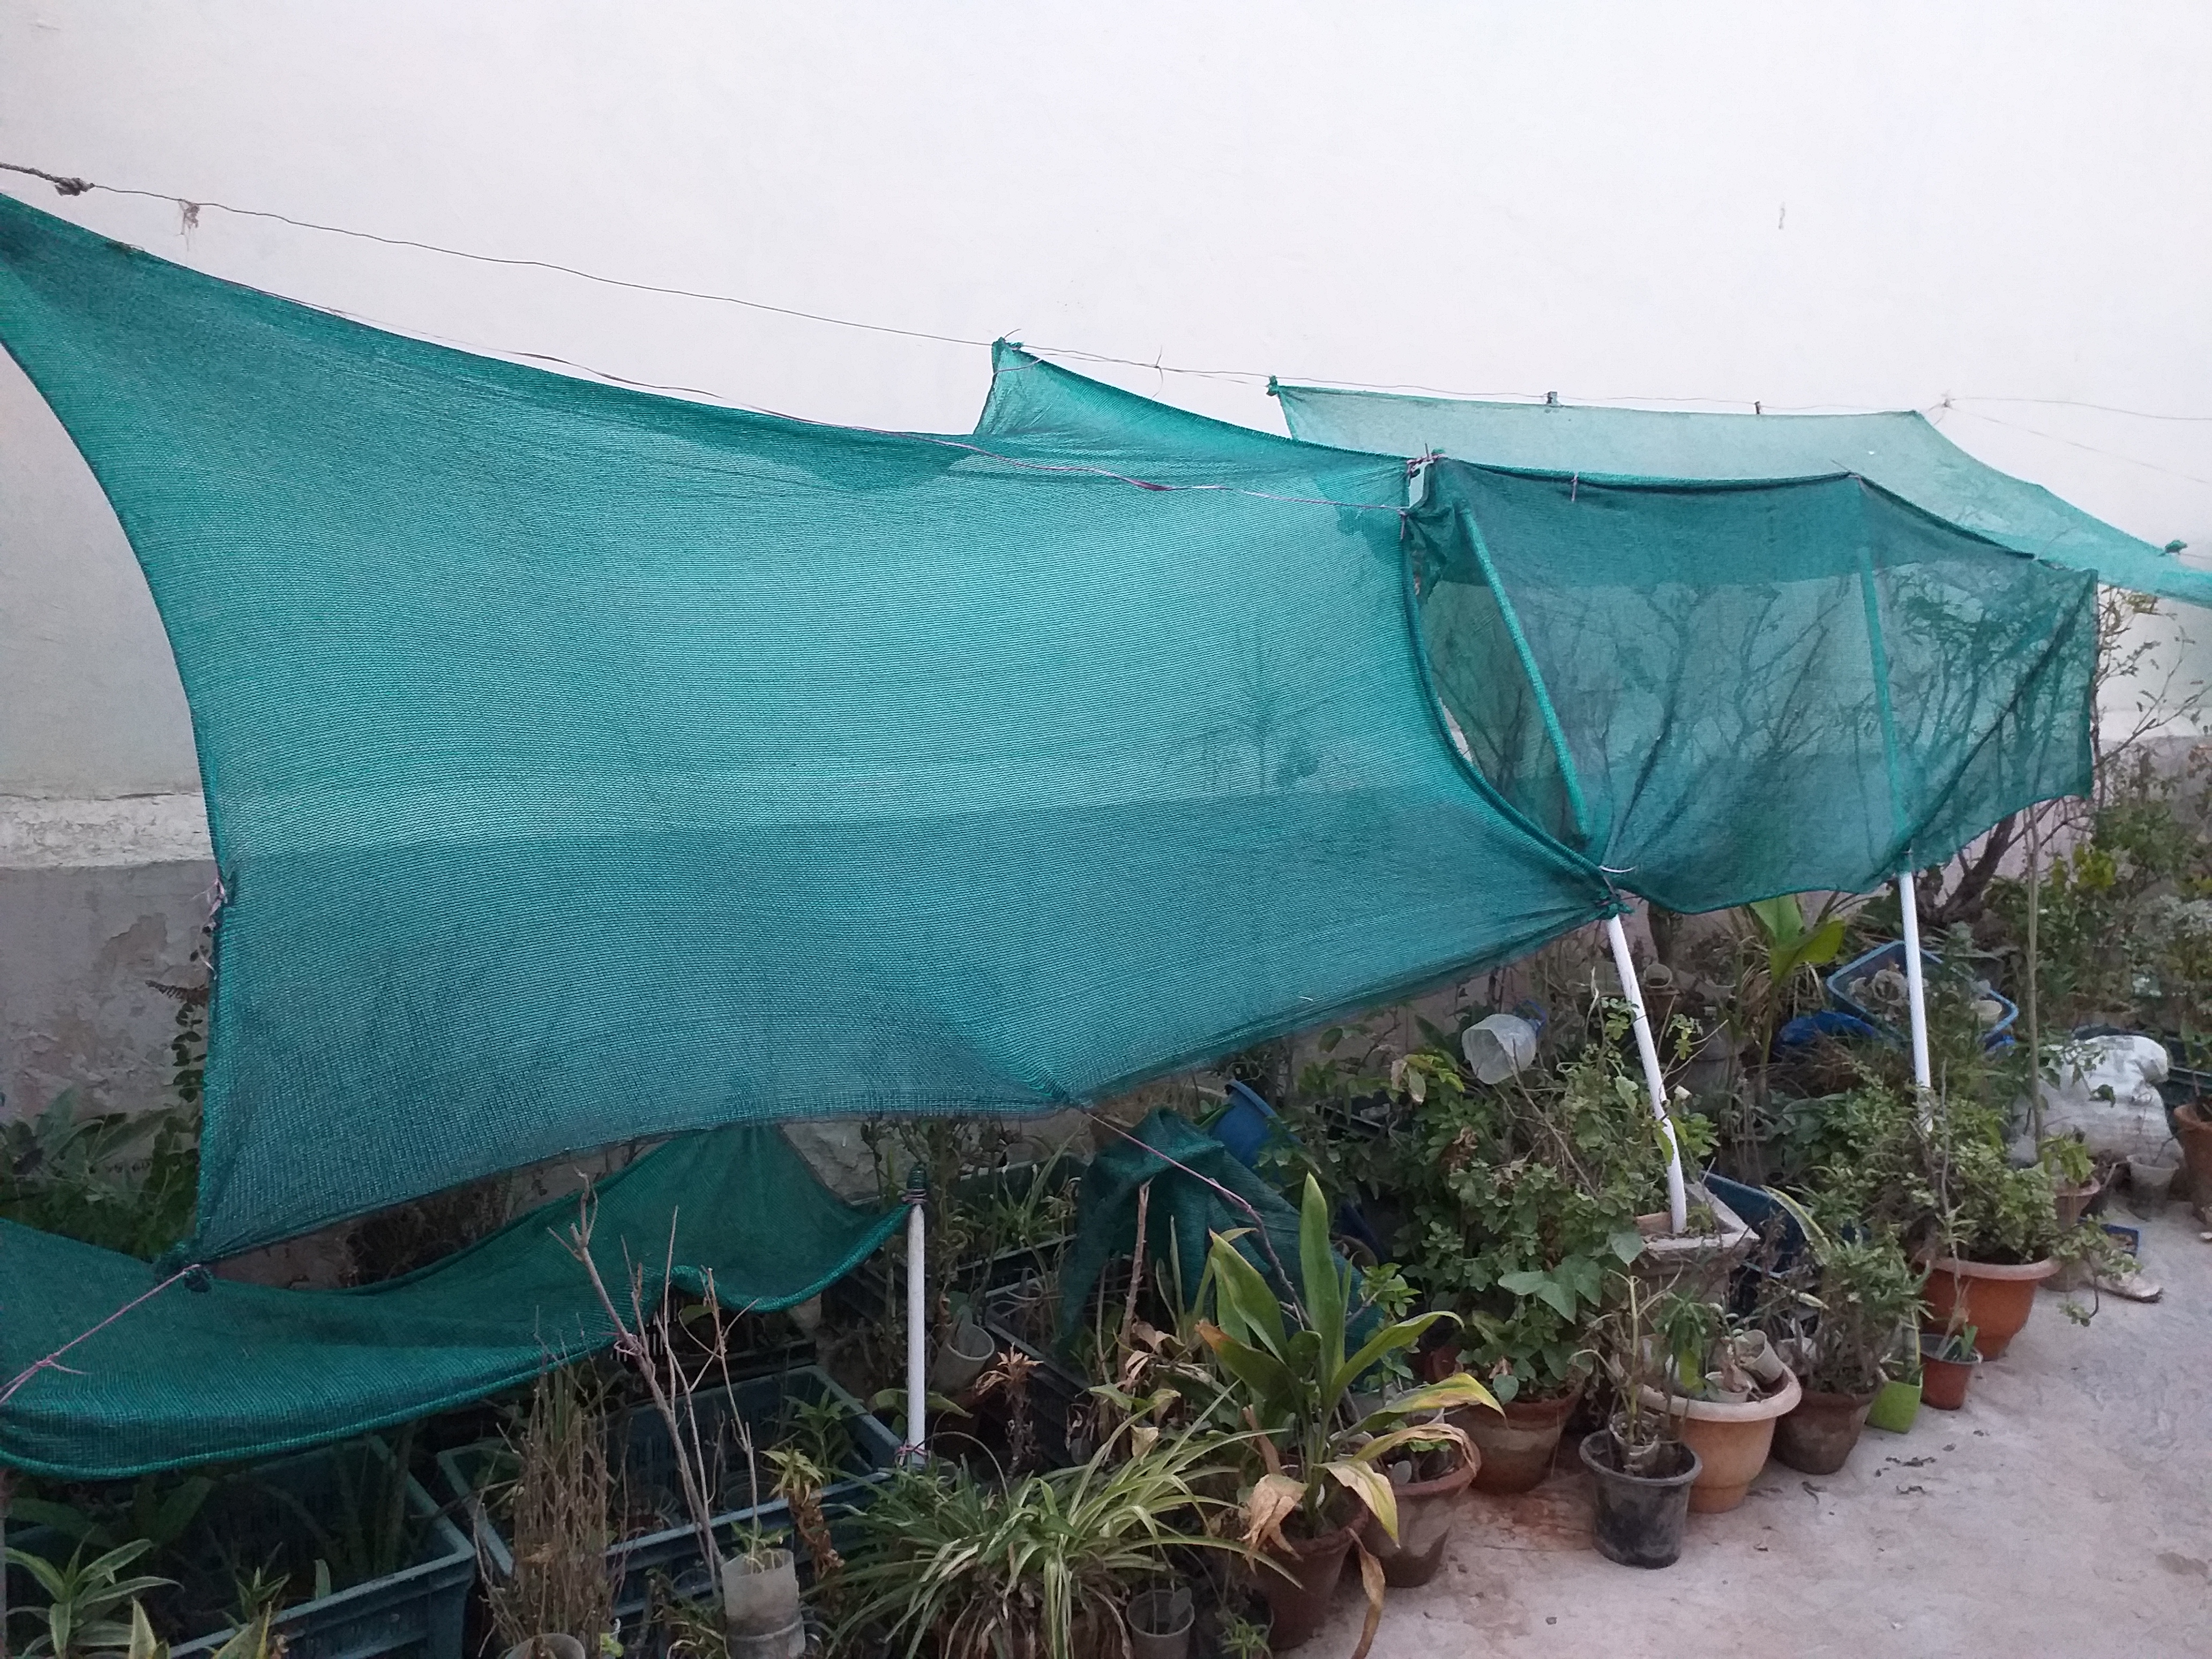
Garden Net Covering Protect Plants from Extreme Seasonal Effects 


Garden Maintenance

-
Timely pruning / cutting of branches ,
-
Trimming roots of old plants,
-
Spray neem oil+water+liquid soap mix on plants,
-
Loosen soil regularly with trowel
-
Removing dead / yellow leaves,twigs, branches off plants
-
Adequate watering as per need & climate temperature
-
Sweeping of garden area clean Fertilizing,
-
Manuring & composting plants regularly
-
Maintaining drainage of plant container
-
Supporting plants with wood sticks at time of fruiting and blooming
-
Tying strings for climbers growth,
-
Giving shape to branches by tying wires
-
Tie big brancheswith string / rope around lush plant to control spread of plant
-
Pest control in garden
-
Lawn mawing, if lawn is maintained
Are Basic Managing Tips for Any Garden


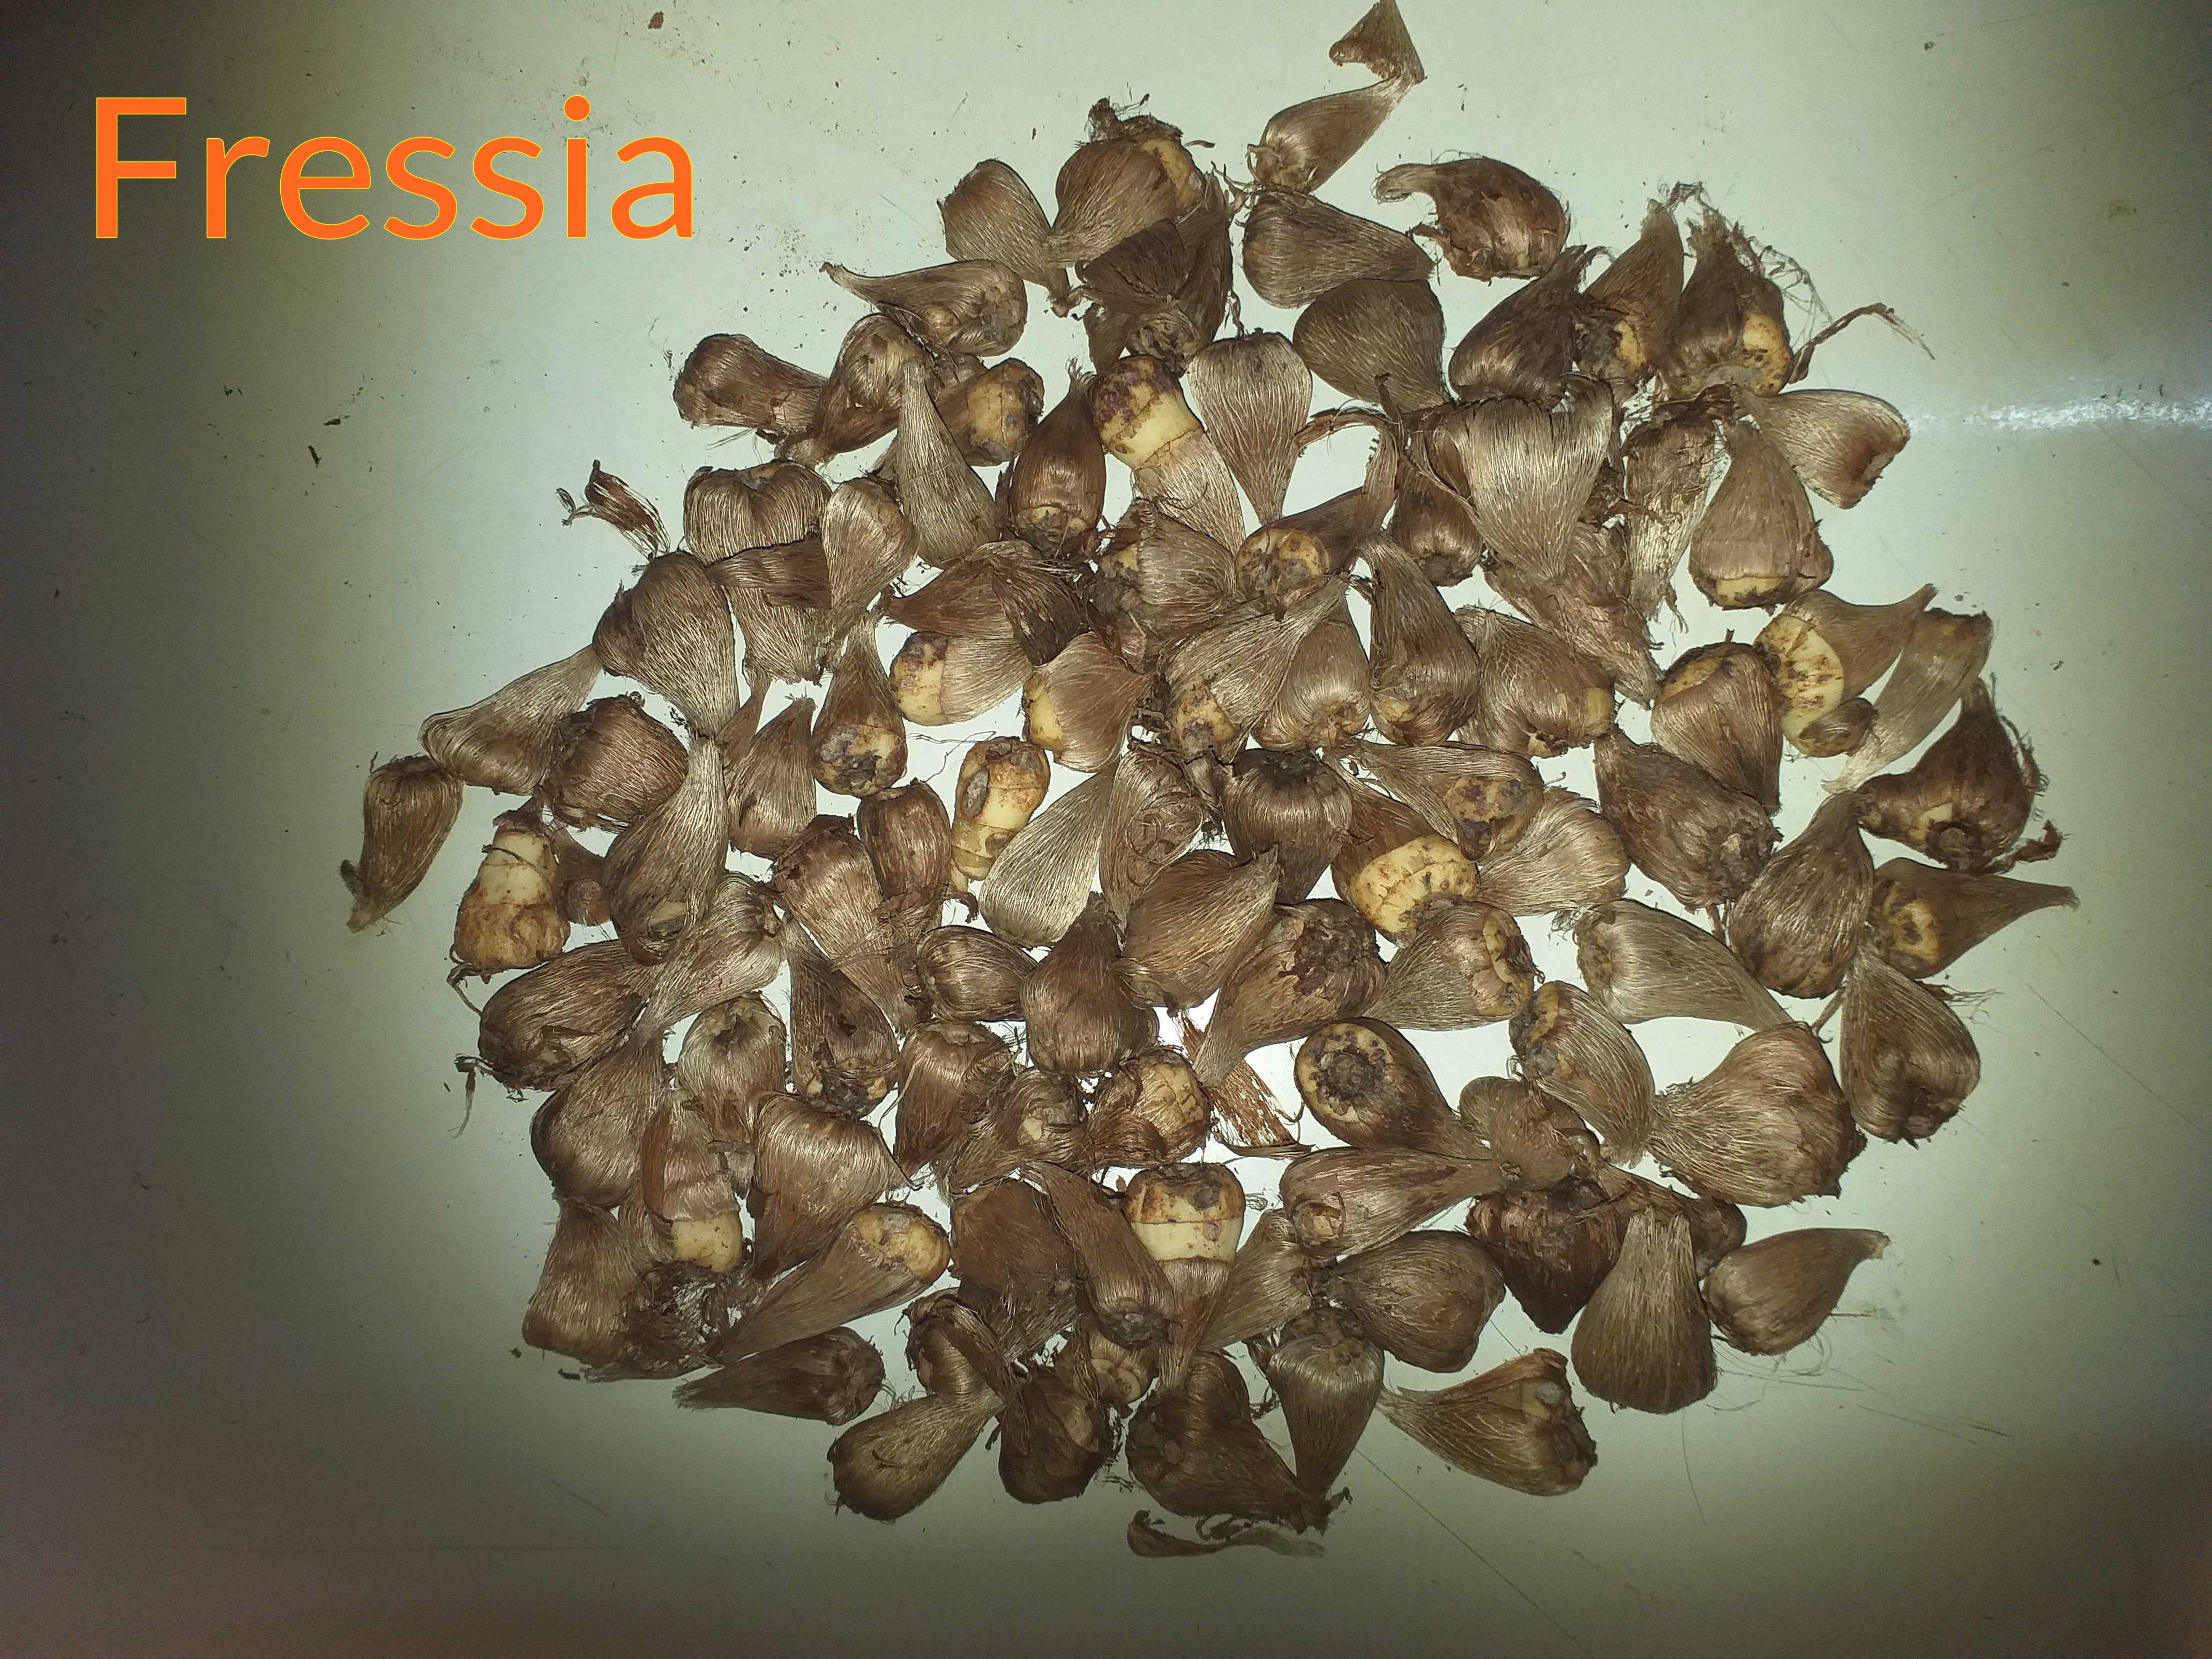
Bulbs  Available
.jpeg?timestamp=1742223725471)
.jpeg?timestamp=1742223789187)
.jpg?timestamp=1742480147418)

.jpeg?timestamp=1704038630725)
Know the Plant
Football Lily .jpg?timestamp=1719658212395)
Football lily is a fantastically beautiful plant. This plant get its name because of its flower, It gives unique flower which don't resemble any other flower .
The flower of this plant happens to be totally in spherical shape like a small football and it belongs to family of Lily variety of flowering plants so the name is football lily, Petals of this flower also happen to be very specially shaped i.e like bog size needles with tiny pollans on petal tips.
Football Lily grows by the bulbs or its tubers. 1 flower each grow on 1 single stem which individually sprout out directly from its bulb. Bud of its flowers happens to be very big and in shape of Deflated big balloon or deflated football Leaves of football Lily happen to be large in size light green in color and simple leaf like banana leaf and they also emerge directly from its tuber / bulb. Leaves happen to be quit leathery to touch
Flowering time of football lily plant is before rains. In ground or large pots may give flower in rainy season too. Best time to sow its tuber is in summer season. But can be sowed anytime in a year too.
In winter season football lily plant die out totaly leaving only its bulb/ tuber, Keep this tube in soil itself keep watering it a little and put pot of it, if in pot in full sunlight, In the next season of it bulbs will give new plant and flowers on its own A bit of soil fungicide like cinamom powder can be mixed with soil of football lily bulb to prevent fungus from rotting the bullb In its season bulbs multiply in soil giving new football lily plants.
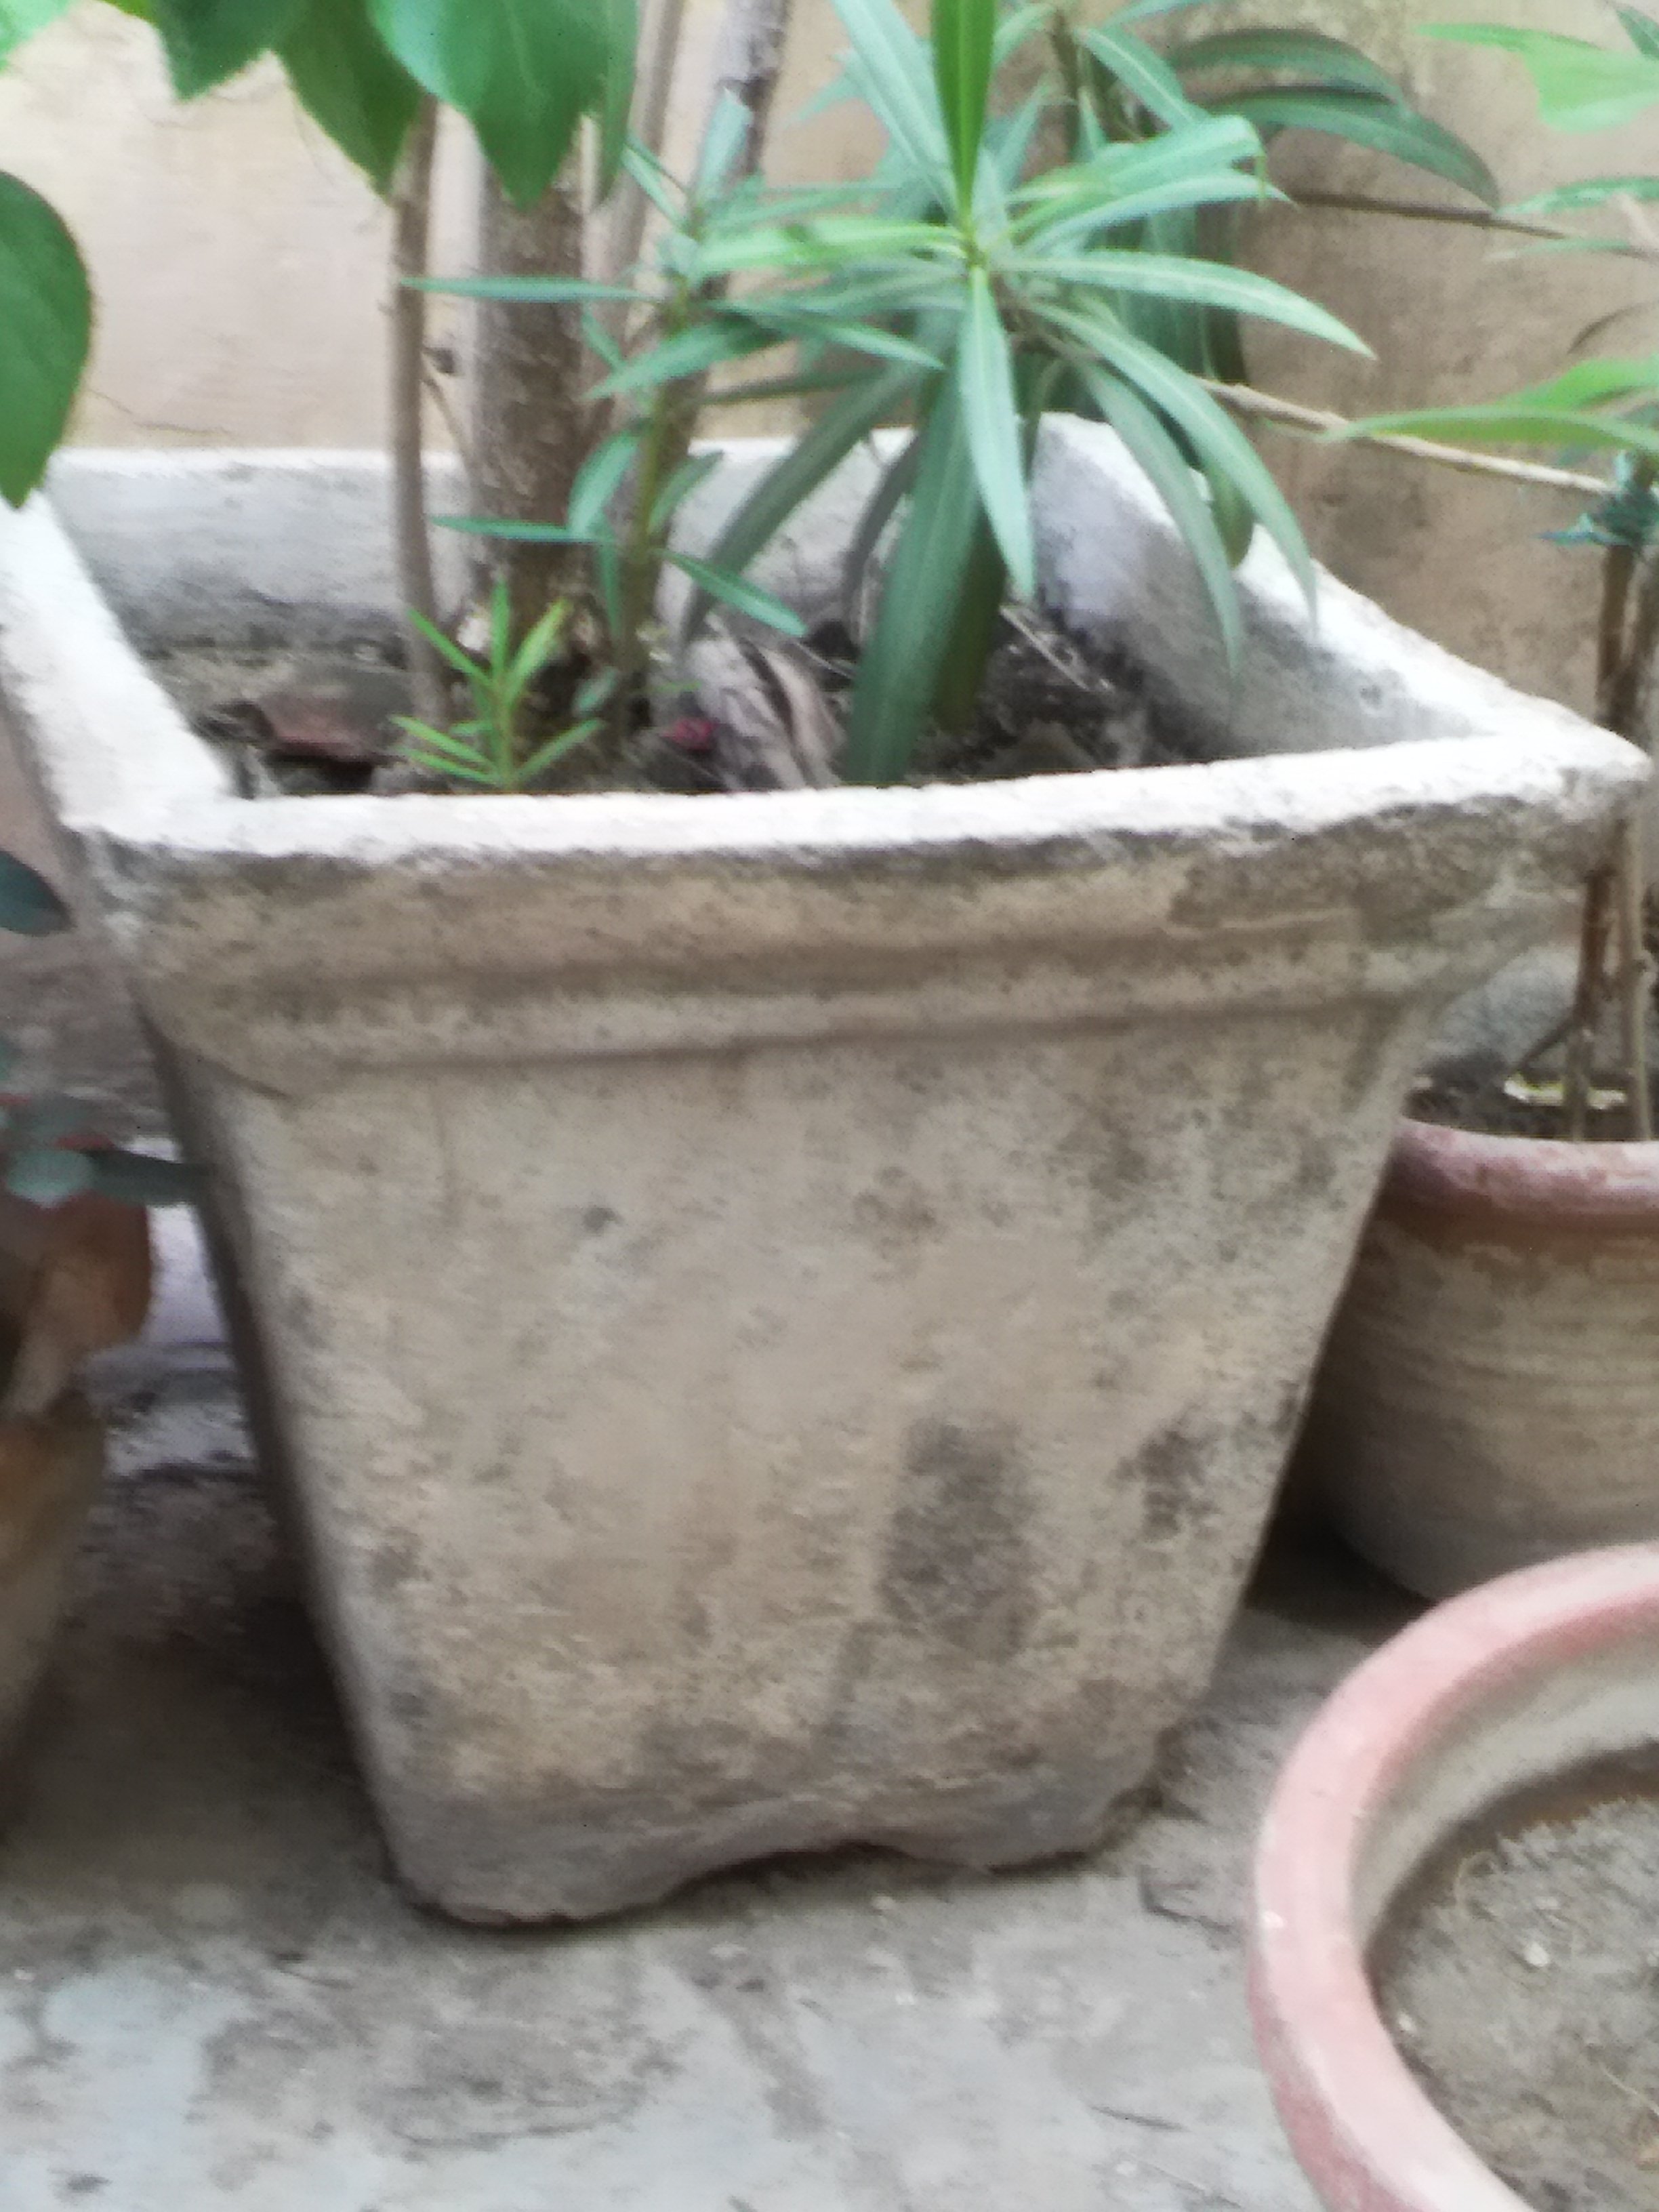
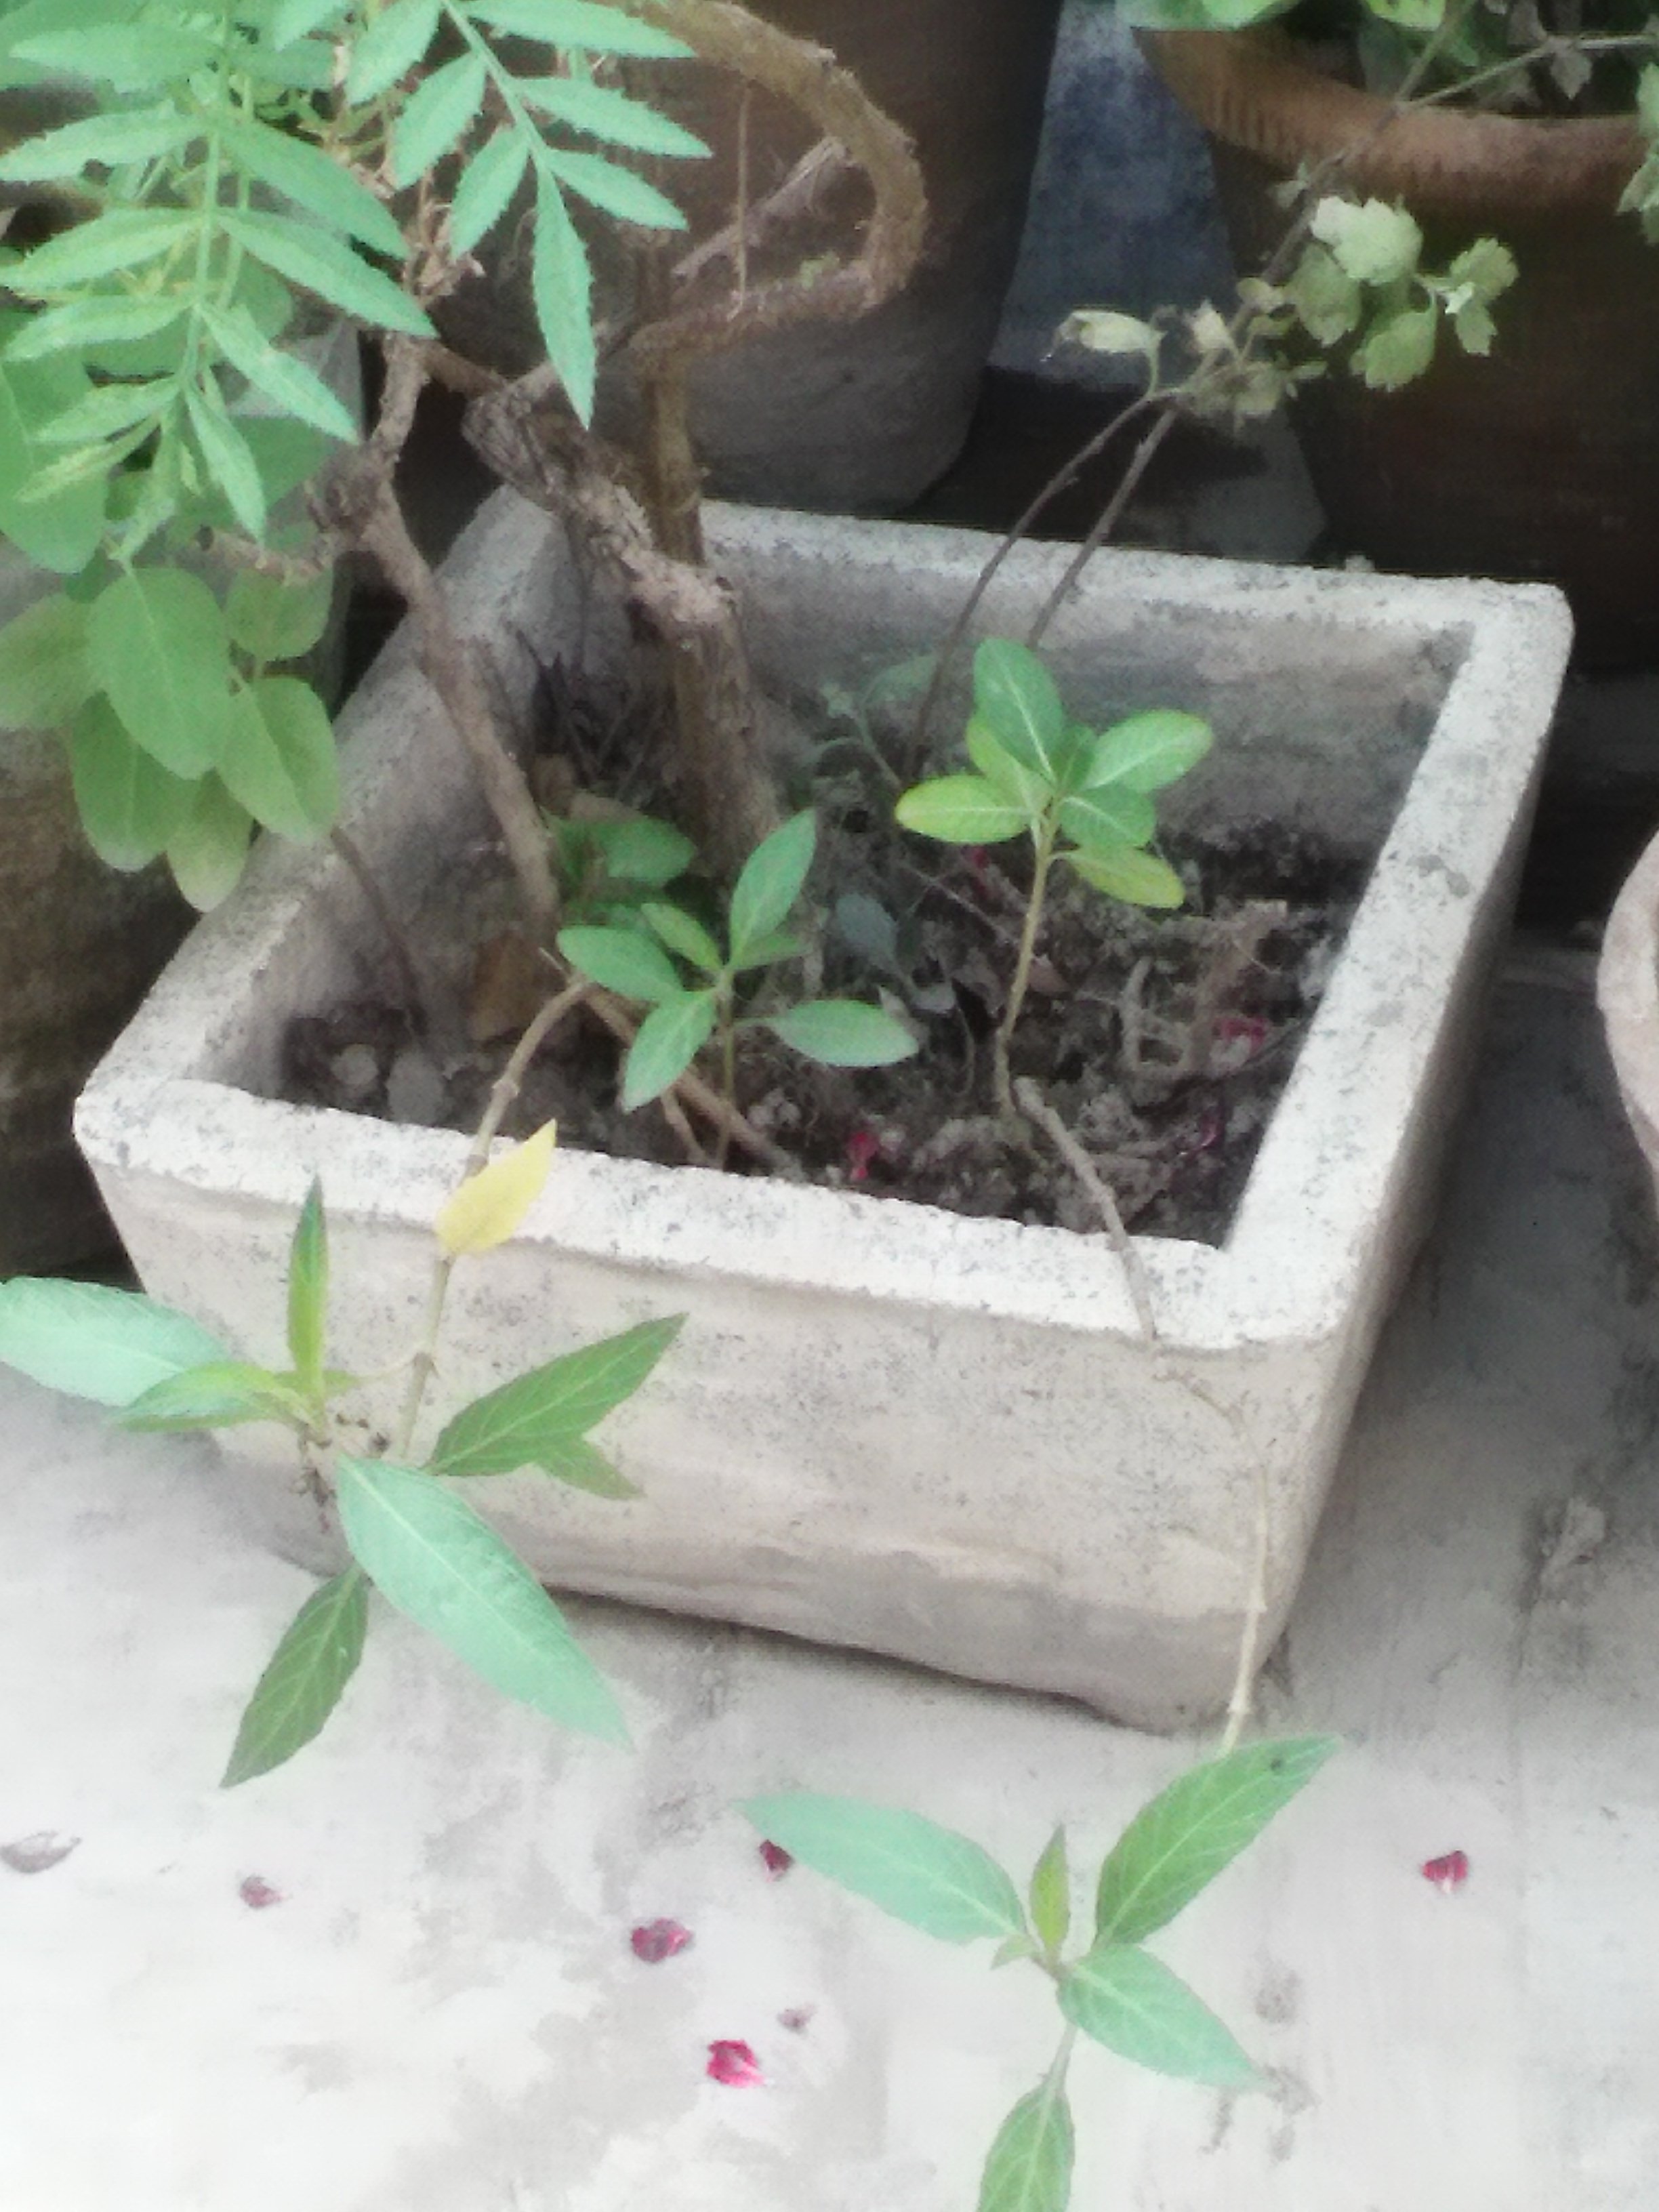
 Various Size Pots


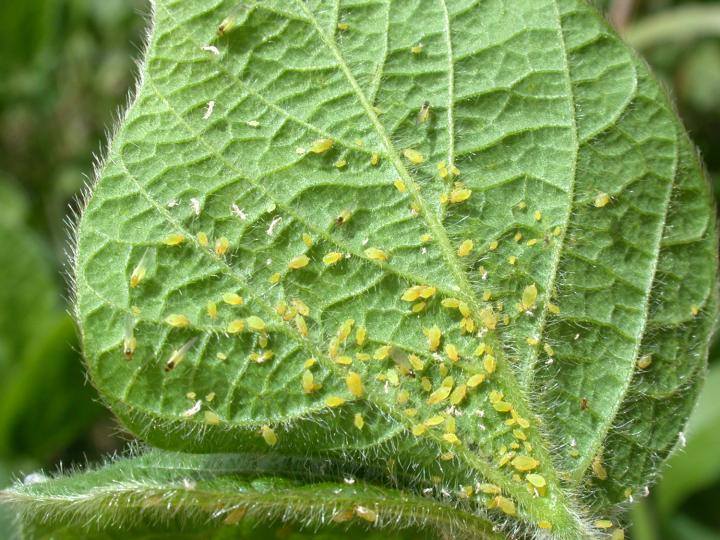
Aphids / Chaipa Treatment 
Aphid or chaipa in hindi are tiny insects that pierce the stems of plants – specially the new growth, new leaves, buds of plants and suck out the nutrient-rich sap, thus depriving the plant of the nutrients that it needs to thrive. Aphid flourishes and infest before spring when weather happens to be sometimes sunny and sometimes cool winter i.e when winter start to end from mid January to March mid. Its important to get the plants rid of aphid for their new growth and budding, flowering Methods of Aphid Removal 1. Physical Removal :- If aphid infestations is not much then it may be possible to physically remove the insects from your plants. With help of brush, remove aphids from plant. Brush can be made wet by dipping in water, Aphids will stick to etc. Brush out aphids If the infestation is contained to one or two stalks or branches, prune off the affected portion(s) and drop them into a bucket of soapy water to kill the aphids. 2. Water Pressure :- It is possible to spray aphids off of plants with the simple application of a garden hose. While this method may harm younger, more fragile host plants, it can be quite effective at controlling small aphid populations on more robust and well-established plants. 3. Soap and Water :- The basic nature of mild household detergents makes them perfect for getting rid of mild to moderate aphid infestations. Dilute a few tablespoons of dish soap in a small bucket of lukewarm water and use a sponge or spray bottle to apply the mixture to plants where aphids have taken hold. Upon contact, the soap will dissolve the waxy protective coating from aphids’ bodies, dehydrating and eventually killing the insects without harming the plant. Remember to also treat the undersides of leaves where aphid eggs and larvae may be hidden. 4. Neem Oil :- It is used in much the same way as dish soap, Neem oil may be diluted in water and sprayed onto plants infested with aphids. The organic chemicals present in Neem oil act as a repellent against not only aphids, but also a wide array of other garden pests including mealy bugs, cabbage worms, beetles, leaf miners, ants, and caterpillars. Neem oil is also effective in controlling the spread of many types of fungus that infect plants
. 

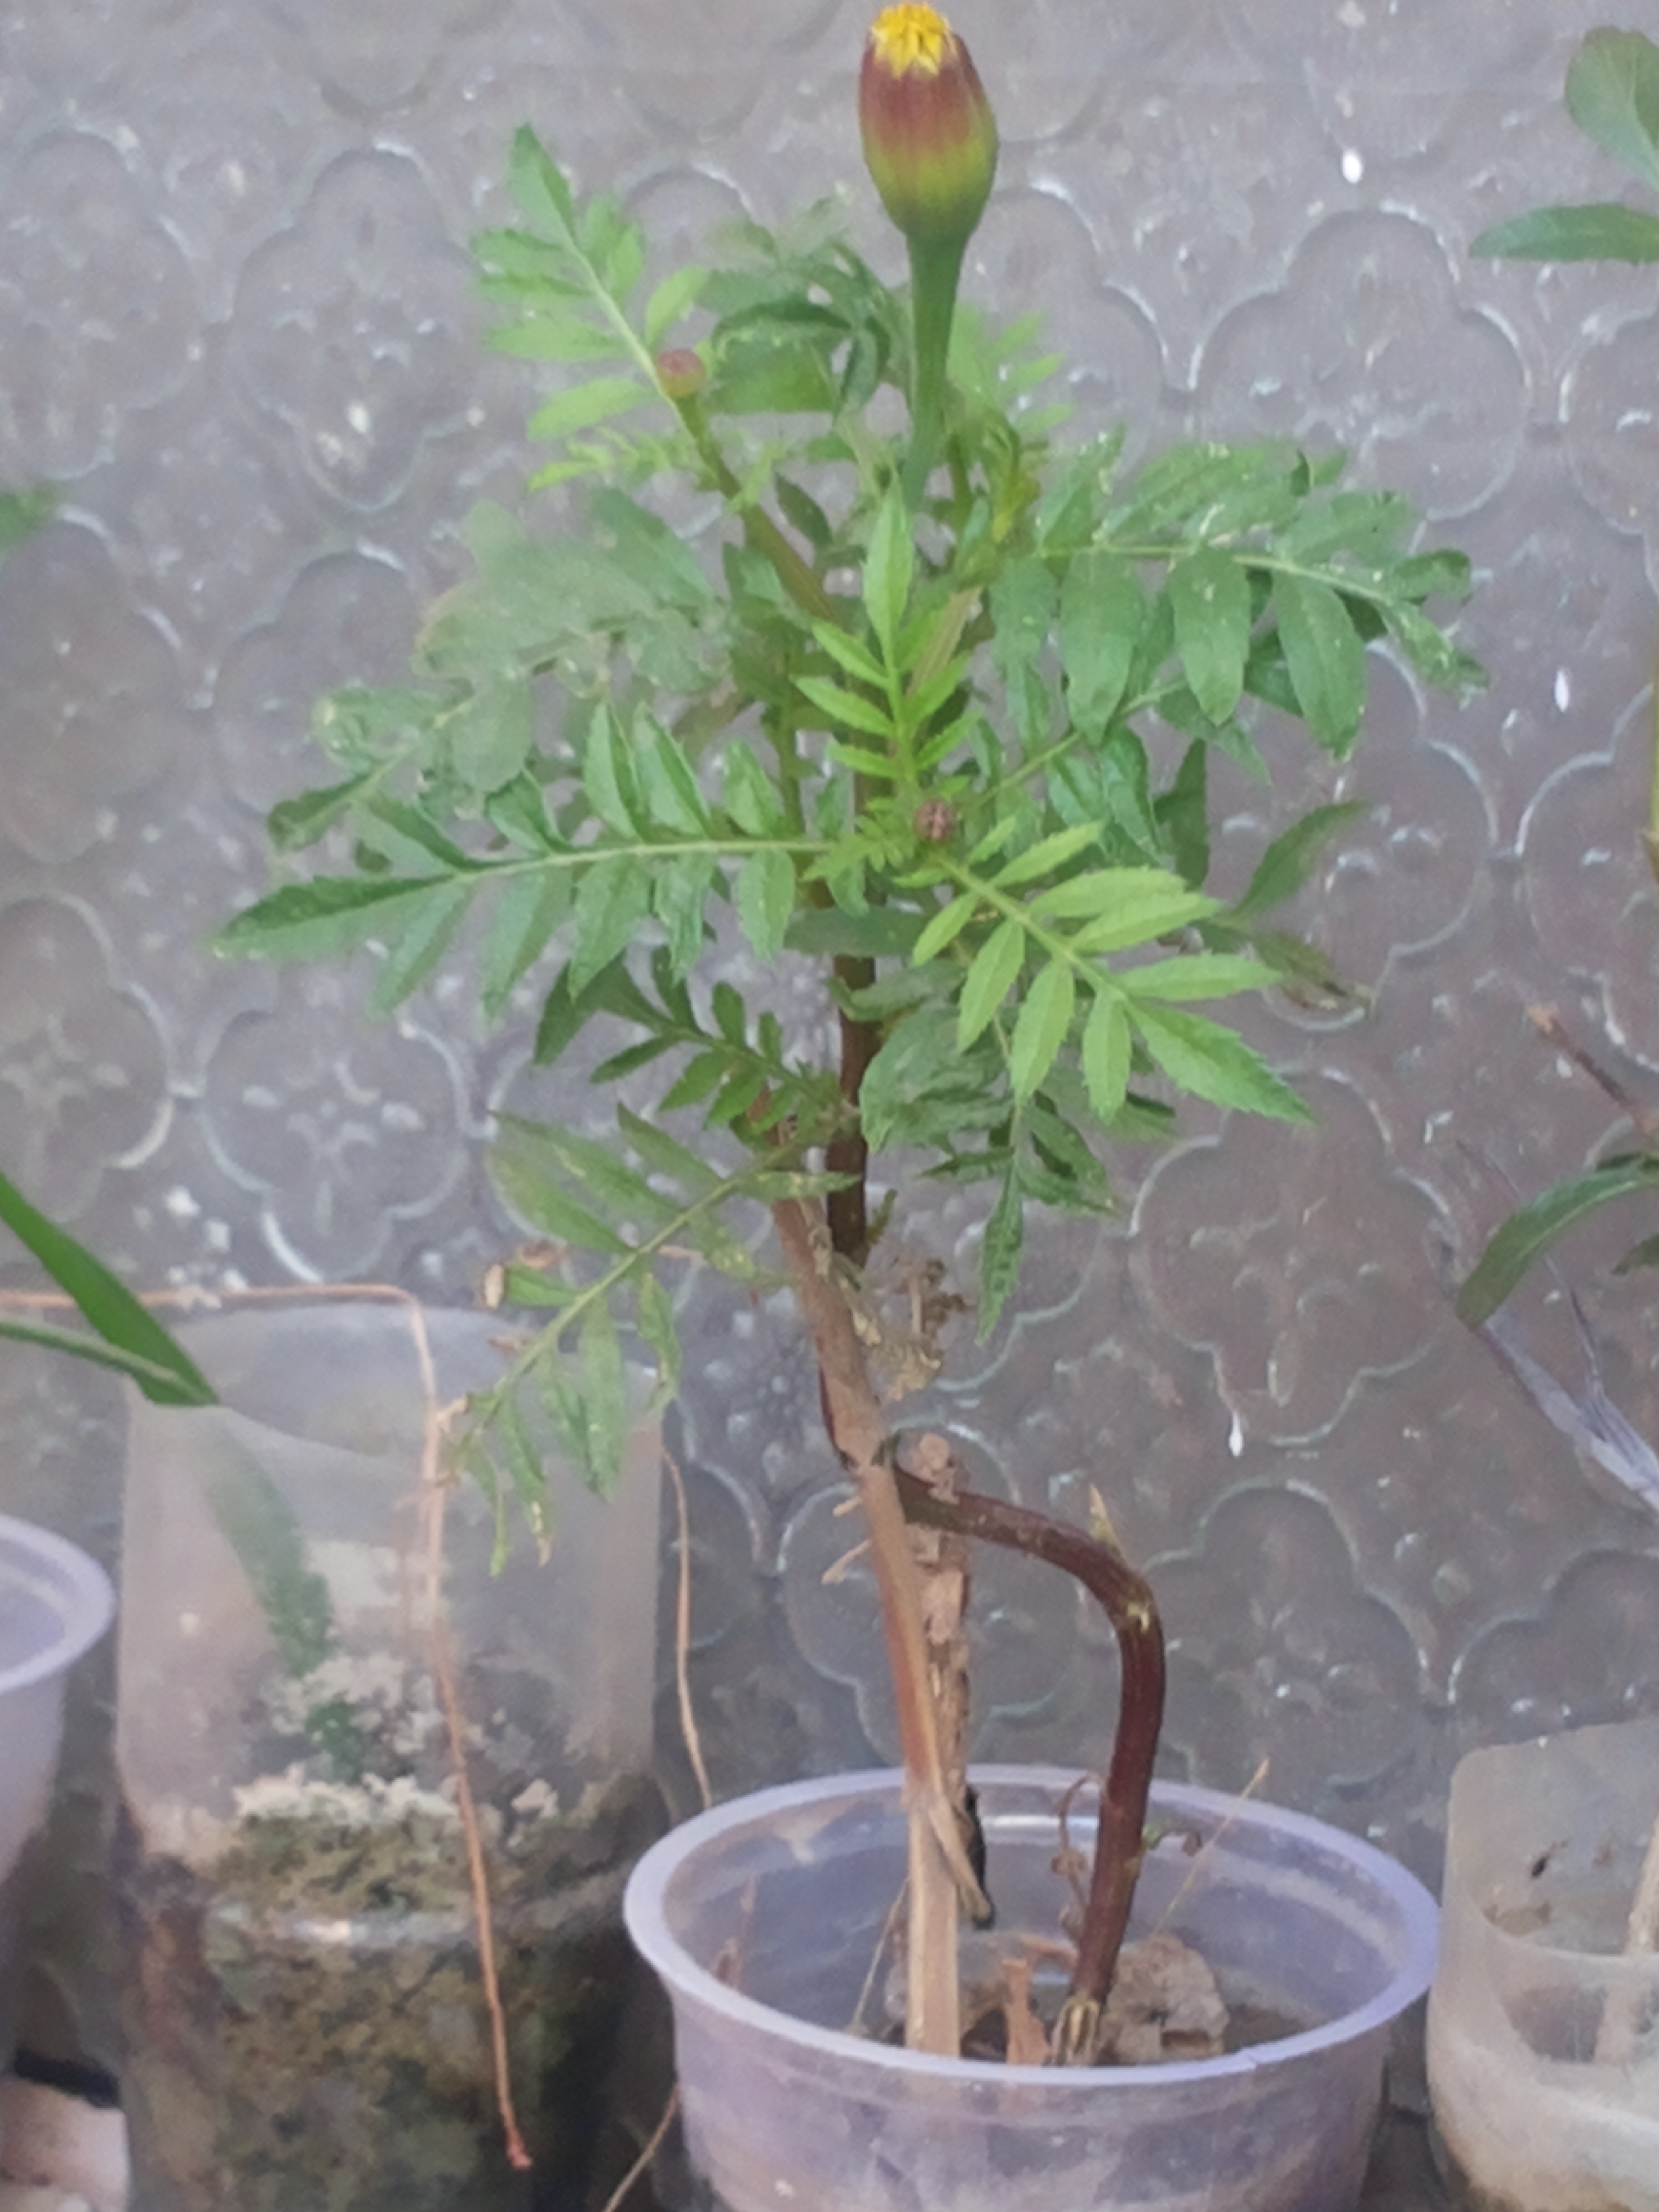
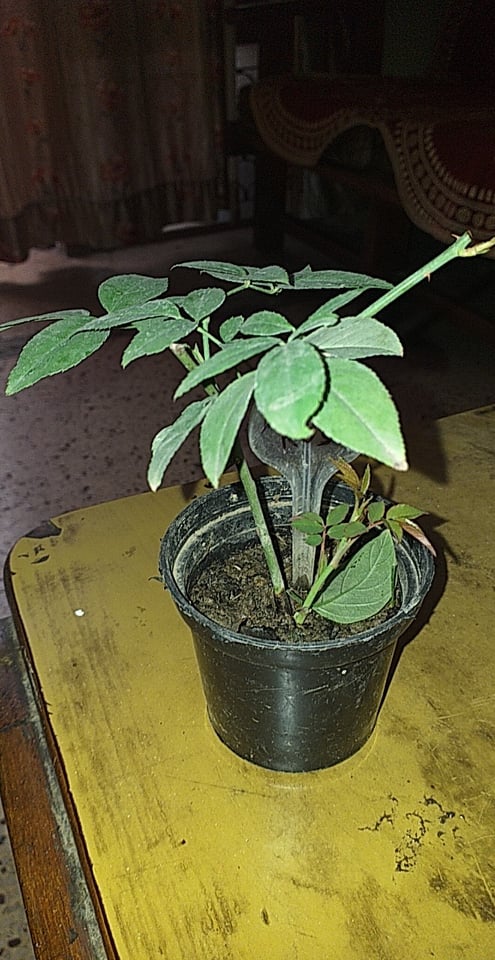
Example Pics  Saplings & Cuttings


 Potted Sapling Transplant.........Tips
Sapling in pot can be transplanted immediately but, better is to keep sapling within pot for 15-17 days, then transplant on it growing more.
1) When desire to transplant make sapling soil moist mildly a bit. Let water get absorbed for 15 minutes at least
2) Tap the plastic pot gently all around it and at back of it . It will loosen soil grip inside pot. 3). Now hold gently the sapling from near pot and very slowly extract sapling out of pot....It must be slowly done.
4) On taking out sapling if find soil a bit loose then make it compact pressing all round gradually , slowly with moist hands giving mild pressing between palms of your hands. / or single handedly, if can do so.
5) Get ready the pot in which to transplant filled with soil mix and make some space in between soil of pot 3 -4 inch deep. Sow / Put gently this extracted sapling in this soil gap with sapling soil into pot soil gap/ hole made. 6) Fill this soil gap now with soil and press by your fingers.
7) Put a supporting stick into soil vertically, near the sapling, giving the support
8) Put in half sun, half shade till they start growing good. 9) Some leaves on transplant may fall that is normal......so don’t worry for that. 10) Pots where these saplings to sow must have good drainage and no water clogging should happen.
11) Maintain moisture but avoid excess watering. 12) If its raining then giving it / putting in indirect rain is good , avoid direct rains pouring over sapling sowed
Recommend : Initially transplant in small pot of 5- 6 inch and let it grow then 2nd transplant in bigger pot

our Saplings

.jpg?timestamp=1777222187759)

BUY Plants On twitter click
 @garden_Plap


Plant Protection  Terrace Green House